Showing posts with label Meat. Show all posts

Tuesday, January 2, 2024

Beef Wellington


Start with center cut beef tenderloin about 8-9 inches, often referred to Chateaubriand.

A day or two ahead of time, salt and pepper, wrap and leave in fridge.

Sear beef in hot pan.  Brush on dijon mustard. Horsradish as alternative.  Let sit and cool.

Duxelle:

This is essentially a mushroom paste that will wrap the beef.

Hot dry pan on low-medium heat

Mushrooms (700g or around 24oz package from Costco)

Few garlic cloves, chopped or minced

Handful of Chestnuts (or walnuts)

Salt/Pepper

Blitz in food processor until its a fine minced paste, but don't liquefy.  

Move mixture to pan and stir every few minutes.  The goal here is to dry out the paste so do not cover.  Let it bubble on the store allow the moisture to escape. It's ok that it's dry, this mixture will absorb some of the moisture from the beef. Add fresh Thyme to kick it up a notch.

Assemble:

Lay out cling wrap and moisten with a rag.  Lay out parma ham, enough that will wrap completely around tenderloin.  Next, smear paste on top of ham in what should about cover all of the beef when you roll it over.

Put beef in middle, roll ham and mixture over beef letting cling wrap do the work. Make it tight as possible, slowly rolling and tucking the mixture around the beef.  Tie up ends as tight as possible.  Trim any access off the ends or your first slice from each end will be all pastry.

Put in fridge until ready

Egg yolk wash 

425 until internal temp reaches desired temp 130 for me.


Alternative, consider Sous Vide for next time.

Sunday, October 29, 2023

Authentic Carne Asada Sous Vide Flank Steak

 INGREDIENTS

2 pounds skirt steak trimmed of excess fat (recipe note #2)

Carne Asada Marinade

1 jalapeño seeded and minced

4 cloves garlic minced

½ cup fresh cilantro leaves chopped

juice of 1 orange

juice of 1 lime

juice of 1 lemon

2 tablespoons apple cider vinegar

⅓ cup olive oil

1 teaspoon ground cumin

1 teaspoon kosher salt

¼ teaspoon freshly ground black pepper

Added: Brown Sugar, Onion Powder and Paprika to taste as optional ingredients


INSTRUCTIONS

 In a large glass baking dish whisk together Carne Asada marinade ingredients (jalapeño through black pepper) until combined. Add skirt steak in a single layer, turning to coat with marinade. Cover and refrigerate for at least 1 hour, but no longer than 8 hours (longer will begin to break down the meat - recipe note #3).

When you're ready to grill: preheat an outdoor grill to medium-high heat. Grill steaks for 7 to 10 minutes per side, turning once for medium-rare. Remove steaks and allow to rest for 5 minutes.

Slice thinly across the grain and serve.


EDIT: Sous Vide at 130 for 3-5 hours.

Friday, August 11, 2017

Flank Steak

Needed:
1 flank steak around 1.25 to 2 pounds
2 T garlic infused EVOO
3 t dried chopped parsley flakes
3 or 4 fresh garlic cloves chopped fine
½ t salt
2 t lemon juice
¼ t fresh ground pepper (12 grinds)

Using a sharp knife trim any excess fat. Scrape off the fine membrane on the one side. Rinse under cold running water and then dry. Option here: I use a Jaccard to assure my flank steak is tender. Combine the above ingredients, and mix well. Lay meat on a piece of Saran wrap and spread the mixture evenly on both sides. Since a flank steak has a strong grain pattern to it with a stringy texture I work the mixture into the meat using the backside of a spoon. Finish wrapping with more Saran wrap and then seal tightly in a food safe plastic bag compressing out air. Refrigerate for at least 24 hours, though 30 is better and 48 is best and do not disturb it!

Next day:

Sauté 8 oz of sliced white button mushrooms in 1/3 stick of real butter and salt to taste and sit aside, but do not drain! (BTW lately the sliced mushrooms are thicker than they used to be so I find they work with this meal better when further sliced in half while still raw.)

In a saucepan create the following au jus:

2 T Heinz Chili Sauce
a pinch of marjoram
a pinch of thyme
a generous pinch of hickory smoked salt
2 generous dashes of Tabasco
2 generous dashes of Worcestershire
5 oz of Burgundy
1 beef bouillon cube
2 oz of water
sprinkle of salt and fresh ground pepper


Mix these ingredients well and add several slices of onions, broken apart and left as rings or cut in half. Simmer the pot until it starts the fine bubble stage. At this point add the mushrooms and their liquid and stir well. This can be done in advance, left to cool and refrigerate until time to reheat and serve with the meal.

Grilling the meat:

Flank steak is thin and if overcooked it will become tough very quickly.

Remove meat from refrigerator and place on counter for at least 2 hours before grilling time.

Fire up your BGE and stabilize at 650 to 700 degrees dome as you will be grilling direct. Unwrap the meat and quickly place on the grill for a mere 2 minutes for first side, flip for 2 more minutes and  remove the meat as the cooking is done!

Quickly cut the meat across the grain in thin strips of ¼” to 3/8” slices. Prepare the plates with meat and garnish with the warm au jus/mushroom mixture. We love this meal with mashed potatoes also garnished with the mixture.


Friday, April 22, 2016

Beef Short Ribs

Mustard Moisturizer

  • ¼ cup prepared yellow mustard
  • ¼ cup water
  • 1 tablespoon Worcestershire sauce
  • 1 tablespoon apple cider vinegar

Seasoning Blend

  • ¼ cup garlic salt
  • 3 tablespoons coarsely ground fresh black pepper
  • 2 tablespoons chili powder
  • 1 tablespoon lemon pepper
  • 1 tablespoon kosher salt
  • 1 teaspoon cayenne pepper
  • ¼ cup to ½ cup canola or vegetable oil

Wrapping Mixture

  • ½ cup firmly packed light brown sugar
  • ½ cup honey
  • 3 tablespoons beef base in paste form, such as Better Than Bouillon
  • 2 tablespoons water
  • 1 tablespoon (1/2 ounce) unsalted butter or margarine, melted


1.Preheat an indirect barbecue with a drip pan and hardwood (preferably hickory, oak, or pecan), a ceramic cooker with deflector plate and hardwood (preferably hickory, oak, or pecan), or a charcoal or gas grill with a box or packet of hardwood (preferably hickory, oak, or pecan) to 250°F.

2.Combine all of the ingredients for the mustard moisturizer and moisten all sides of the roasts. Combine all of the seasoning blend ingredients.  Sprinkle the roasts with about half of the seasoning blend, covering all sides evenly.  Using your hands or a brush, evenly, but lightly, coast the roasts with canola oil.

3.Place the roasts in the cooker, bone side down, and cook for 5 hours.

4.Meanwhile, combine all of the wrapping mixture ingredients.

5.Remove the racks from the cooker.  Lay two sets of double sheets of heavy-duty aluminum foil large enough to wrap the roasts on the work surface, and pour half of the wrapping mixture on each.  Top one set of foil with a rack, meat side down, close, and crimp to seal.  Wrap with a second sheet of foil.  Repeat with the remaining rack and foil.  Place the racks back in the cooker, and increase the temperature to 275°F.  Let the racks rest in the foil for 45 minutes.

6.Remove the racks from the foil over a baking dish or disposable aluminum pan, reserving the cooking liquid.  Lightly dust all sides of the racks with the remaining seasoning blend and place, meat side up, in the cooker for 45 minutes.

7.Meanwhile, strain all of the juices and solids from the pan through a fine-mesh strainer set over a measuring cup.  Discard the solids.  Allow the fat to come to the top in the measuring cup, pour off, and discard.  Pour the remaining liquid back in the pan to keep warm.

8.Remove the roasts from the cooker, wrap in plastic wrap, and let rest for 30 minutes.

Friday, December 26, 2014

How to Cook Prime Rib on the Big Green Egg Using Reverse Sear

First of all, I'd like to explain something that is very confusing regarding the term "prime rib".  The word "prime" is NOT referring to the category of meat determined by the USDA.  Prime Rib is just a common term for the cut of meat from the cow (ie. brisket, flank, etc).  The USDA grades meats in three main categories, select, choice or prime.

So you can have three different kinds of Prime Rib:

Select Prime Rib
Choice Prime Rib
Prime Prime Rib

Most grocery stores don't even carry actual Prime-Prime Rib and most of it ends up at restaurants.  It is usually Select or Choice and should say so on the label so just make sure your getting what you think your getting.  Prime rib is also called "Standing Rib Roast".

Here's how I cooked it:


  1. The day before, season the roast.  Slather in olive oil, salt, pepper, rosemary and thyme. Loosely cover in the fridge over night, preferably not air tight.
  2. Let sit out on the counter for an hour or two to begin to warm up slowly.
  3. Setup for an indirect cook, place setter legs up, drip pan, grate on.  
  4. Put the meat on a v-rack in a roasting pan and put on the grate.
  5. Cook at around 250 degrees to an internal temperature of 115.
  6. Depending on your timing situation, you can pull and wrap and put meat in a cooler, or just let it rest on the counter (at least 30 min)
  7. While resting, fire the egg up to 500-550 degrees and roast for another 10-15 minutes to create a great outer crust. I live to kind of roll it around on the grate to sear all sides.
  8. Carve immediately.  The ends will be more done so the folks that like theirs more done should get those pieces.  The center should be full blown medium rare.


Tuesday, December 9, 2014

Buffalo Chicken Wings on Big Green Egg (with elevated grid)

I've found that these are one of the easiest things to do on the Egg.  I take the wings directly from the package and put on the hot Egg.  No sauce, no seasonings, no nothing.

Note:  I've done all types of pre-seasonings before.  Tony's, dry ranch powder, etc.  They're all fine, but the wing sauce is always so over powering, I never really taste anything else.

Using the Adjustable Rig on the highest setting, cook at about 350-400 on direct heat for about 15 minutes, flip wings and cook another 15 minutes.  Flip back to the original position and brush on your favorite sauce and cook for 5 minutes.  Flip again and brush on sauce on the other side, cook for 5 more minutes.  Remove from Egg and toss in a large bowl with more of the sauce.  Serve and enjoy.

The grid is several inches above the felt line when using this setup and the distance from the coals allows you to cook direct without charring.

Another alternative is a method I used to use before I had my Adjustable Rig.  I would setup the Egg with the place setter, legs up, for an indirect cook.  I would cook in this indirect setup for the first two 15 minutes parts listed above.  At that point I would remove the entire grate (with the food on it) and set it aside momentarily.  I would remove the hot place setter and set in a safe place.  I would then return the grate and food back to the Egg in a now a direct heat setup for last two 5 minutes sections of the cook listed above.


Wednesday, November 26, 2014

Turkey on the Big Green Egg

I've been wanting to attempt to do a turkey on the egg for a while now.  Here was my method.

Brine for 12-24 hours:
Cleaned out my cooler and filled with brine.  You could use a giant bowl or a brine bag in a similar capacity.  My brine was about 1 cup of salt per gallon and half a cup of sugar.  I've heard of folks using all kinds of other herbs like thyme and rosemary and I've even heard of people using cranberry or orange juice as a brine.

Removed turkey from packaging, removed neck and giblets, and washed the bird.  Inserted bird into brine and  I added some ice to make sure it stayed chilled, but just a little ice in the Yeti goes a long way.  Let is sit over night.

Let the Turkey "Rest" Out of the Brine
Many people say this is a key step where you simply take the bird out of the brine and let it sit in the fridge for a few hours.  They say it lets the skin tighten back up.  I let it sit in the fridge for about 4 hours.

Prepare Big Green Egg and Stablize 350 F
Set up the Egg for indirect heat.  Used the place setter, legs up, grate on (and will cook turkey in a disposable foil pan).  Added apple and pecan wood blocks using the minion lighting method.

Inject, Add Rub and Sit at Room Temperature for an Hour:
I used a Tony Chachere butter injection and Tony Chachere Rub, but you can literally use anything you want.  Since this wasn't Thanksgiving, I was just wanting to try something a little different so a Cajun turkey sounded good.

I ordered what they a call a Turkey Cannon.  It's basically the same thing as the Beer Can Chicken stand, except it sits sideways.  It has two main purposes that I see.  1) It allows the bird to elevated throughout the cook, and 2) it steams the meat from inside the cavity.  I filled the cannon with beer and apple cider vinegar and a little of the rub.  It was a little tricky getting the bird on the cannon by myself without spilling the liquid inside, but I think there's a little learning curve involved here.

Once the bird is on the cannon, I put it in the foil pan and onto the Egg it goes...

Cook at 350-375 F
I had just cleaned my egg and the fire was rocking so I actually had a little trouble keeping it under 400 degrees.  (Note: cleaning out your BGE periodically keeps it running at tip-top capacity).  This bird reached an internal temperature of 165 degrees in about 1 hour and 45 minutes.  This was much faster than expected and it wasn't any where close to dinner time so I lowered the temp to 225 F and let it smoke for a few hours at this temp.  Not the ideal cook plan I had mapped out but the turkey turned out great.

Notes:  Many people like to smoke their turkeys for long periods of time as if they were cooking a pork shoulder.  I'm of the mind that it doesn't buy you anything to cook a turkey that long.  Lean meats like turkey and chicken don't have the collagen in the meat that breaks down like pork or beef over long periods of time.


Monday, October 27, 2014

How to Cook Beef Brisket on the Big Green Egg

"Brisket is a journey. You will know when you are there...." 


When I ask people how long a brisket takes, I've heard some folks say, "It takes as long as it takes".  I think that's the hard part about brisket, every other type of cook you can say x hours per pound is how long it will generally take.  Just with my brief experience with brisket, I can tell you to have some plans in place if the cook happens faster/slower than you anticipate.

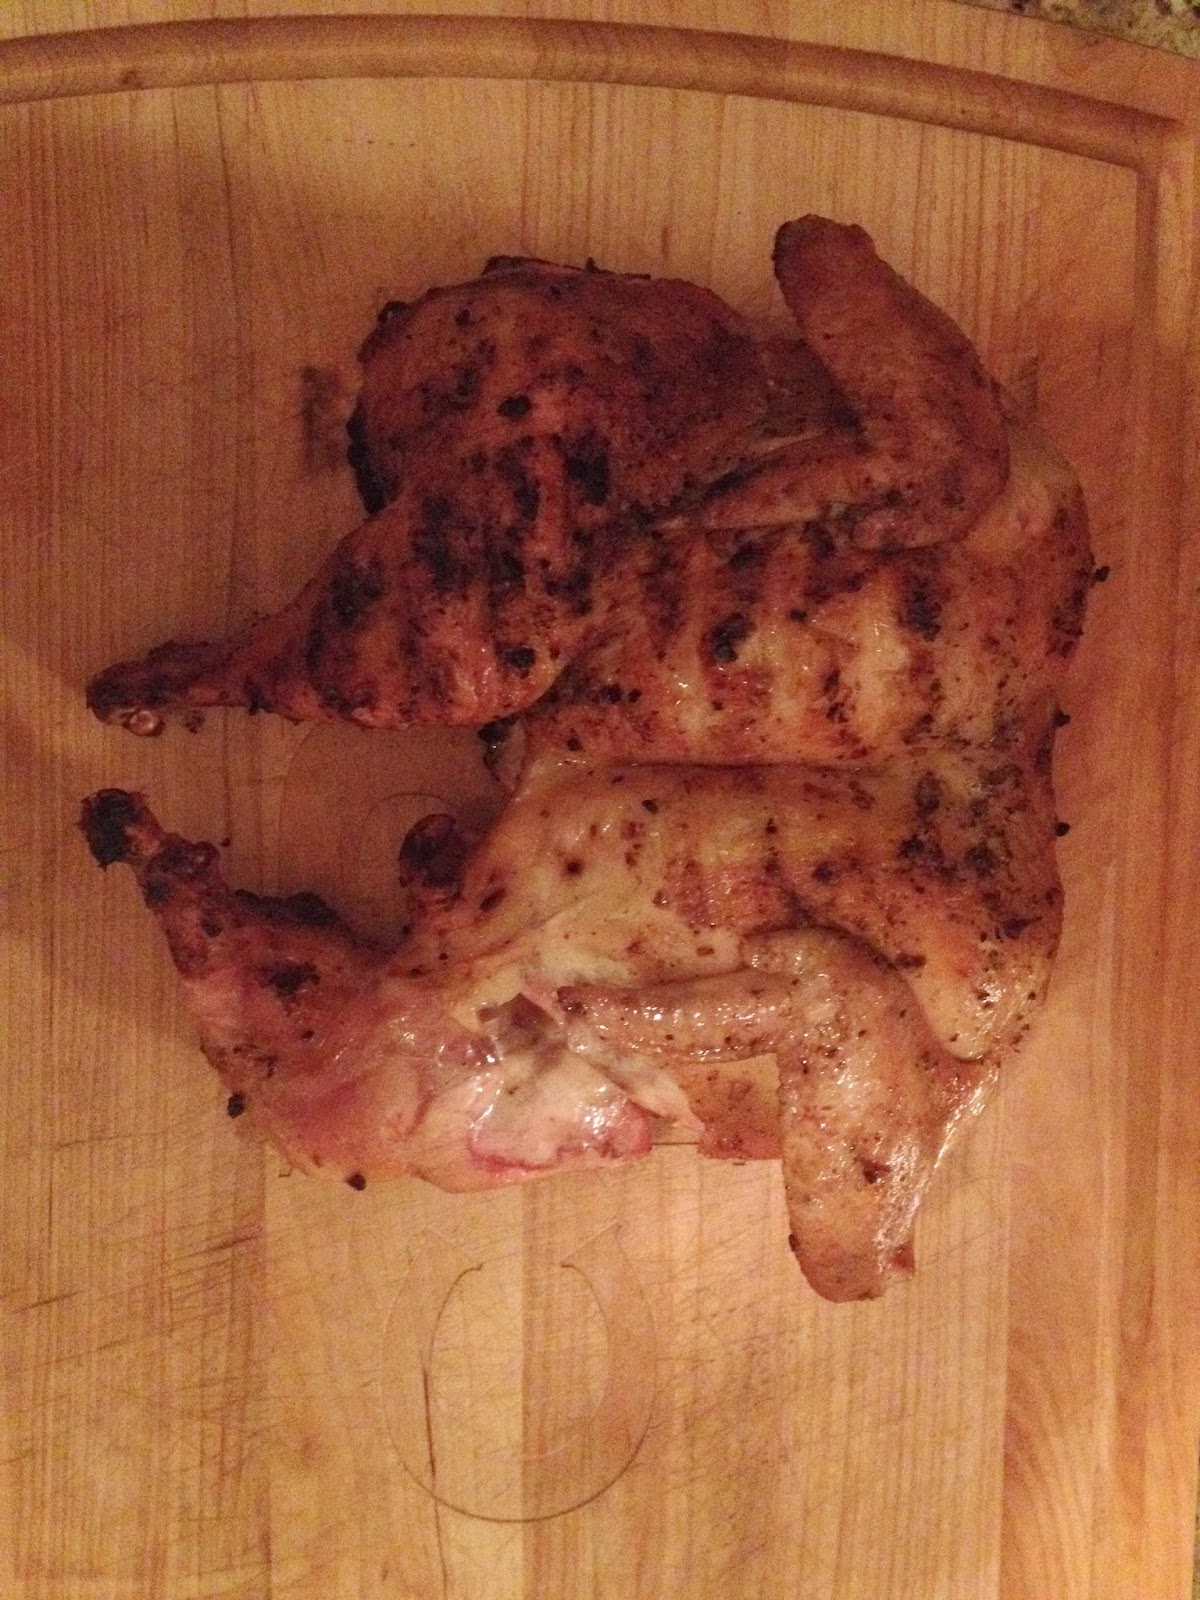
Growing up just outside of Memphis, pork is king of barbecue, I'm not sure I ever even tasted a beef brisket until I was grown.  But damn, I can't believe what I've been missing.

I think the key things for smoking a brisket are:


  1. I try to cook brisket in the 230-250 range if I'm not in a hurry.  Maintain a steady temp throughout the cook, don't be fiddling with the vents and dampers.  Get the right tools to set it and forget it.  There's a lot of differing opinions on the temperature to cook at, but the consensus is steady, whatever temp you choose.  Brisket has a decent plateau where it seems to freeze in the 160s, don't freak out and just let it roll through it.  That is the collagen converting to gelatin and moisturizing your beef.
  2. Letting it rest for at least an hour, and ideally more than that.  I can't stress this enough.  I know you do this for almost every type of meat, but its really important on brisket.  I've let it sit in my Yeti for almost 5 hours and it was still piping hot.
  3. Slice against the grain when cutting to serve to get full flavor distribution.  So do something to mark which way the grain is going because it can be hard to tell after it is cooked.  Sometimes I cut just a little sliver off the edge so I'll know that's the way I need to slice when it's time.  It's also important to note that if you're doing a whole brisket (point and flat) the grain of each will be perpendicular to each other.  That means if you don't separate them, you will eventually start cutting one of them with the grain, which is not ideal.
  4. Brisket is big, long piece of meat.  The grate on the large Big Green Egg is only like 18 inches with a little room to overlap before you're rubbing up against the inside of the egg.  If you're cooking a whole brisket, make sure it'll fit.  I wouldn't get one that was much over 20 inches long.

My first try was a flat from Costco, apparently they remove the point nowadays and don't sell whole ones any more.  For more info on what the hell a point and flat is, see the link at the very bottom of this post.

Mustard and dizzy rub night before, plus kosher salt and fresh ground black pepper (I do it without mustard and can't tell a difference at all). Saran wrapped back up and left in fridge overnight.  The morning of the cook I injected the coffee based marinade, "Bovine Nectar"  listed below.

Using my adjustable rig, spider/stone and the highest rack grilling, I smoked the brisket until internal temp hits the low 160s.  (Inverted plate setter on the grate would be an equivalent setup).  Wrap in foil and put back on the Egg until about the low 180s and remove foil  to let the bark harden back up and finishing cooking til about 190-205.

For brisket you don't necessarily go by the internal temps.  Use the internal temp as a ballpark guide to start doing probe tests.  A probe test is simply poking the meat with the probe of your meat thermometer or thermapen and then pulling it out.  If it goes in like it's going into butter and pulls out just as easy, the meat is ready.  This takes some getting used to, but once you pull that probe out of a done brisket, you'll know.  They say that no cow is the same and some briskets are sliceable at 185 and others at 195.  That's why you do the probe test instead of relying on internal temps.  I've stuck my probe in and dragged the brisket across the grate trying to pull it out (clearly indicating that it's not ready).  That's an extreme example, but hopefully helps get the point across.


Bludawgs Method:
http://www.texasbbqforum.com/viewtopic.php?f=30&t=14058

This is more of a method than an actual recipe.
Trim a packer Brisket and rub heavily with K- salt, Black pepper(table grind),and Mexican Oregano. Wrap in plastic wrap and store over night in the icebox.
Prepare your charcoal basket and add 3-4 chunks of Mesquite. Bring the UDS up to temp set to run at 230 deg.
Inject the brisket with BluDawgs Bovine Nectar.(recipe below)

Place on the UDS fat cap down and smoke 2 hrs. Flip the brisket fat cap up for 2 hrs. Remove the Brisket from the UDS and Place it in a Foil Pan fat cap up insert your temp probe and return to the UDS. Cook to an internal temp of 195 deg ,do a poke test if it passes pull it. Otherwise check it every 5 deg temp increase till it passes.

Remove from the UDS foil over the pan allow to rest for 1 hr. on the counter. After the rest remove to cutting board, separate the point from the flat. I chunk up the the point and add Bull Dust. Drain the juices from the pan to a defating cup. Place the cubed point back in the pan and back onto the UDS for Burnt ends. Slice the Flat, add the pan juices back to the slices. That is the best BBq sauce in the world for a brisket. Enjoy!!

BluDawg's Bovine Nectar
This Injection adds moisture,and is a flavor enhancer it adds beefiness to the brisket .

Bovine Nectar

1 pkg McCormicks Aus Jus
3 cups Black Coffee
1 tbl Worcestershire
1/4 cup cannola oil
1 tbl BluDawgs Bull Dust *recipe to follow

Dissolve the aus jus with the coffee add the Worcestershire and the Bull dust. Heat over med heat 1 min remove from eat and allow to cool to room temp. Inject about every 1" and go directly to the smoker. Smoke it as you normally do.

Bull Dust

1/3 cup Paprika
2 tbl brown sugar
1 tsp dry mustard powder
4 tsp onion powder
2 tsp garlic powder
1 tsp Gebhardt's chile powder

Add all together. Mix well.


Great all around brisket info:
http://www.virtualweberbullet.com/brisketselect.html

Saturday, July 26, 2014

Big Green Egg Baby Back Ribs

Want those fall off the bone ribs?  Just follow this simple 5 hour recipe.  Don't skimp on the time, if you don't have time, do something else.  Five or ten minutes per section won't hurt, but I've done abbreviated versions (like 3 hours total) and there is a clear difference in the tenderness of the meat.  Also, some people don't like the 'fall off the bone' kind of ribs.  They like it where the slab stays together and it's firm, making it easier to manage on the grill, etc.  So, to each their own, if you're shooting for a little less tenderness, customize this recipe to a 4 hour cook.  Find what works best for you, but here's mine:
  1. Remove membrane from back of ribs if your butcher has not already.
  2. Slather on regular ol' yellow mustard.  It acts as an adhesive for the rub you are about to apply.  Trust me, you will not be able to taste it.
  3. Add your favorite rub or you see my post on how to make your own.  Coat it liberally in every crevasse. 
  4. Setup your BGE for indirect with place setter legs up.  Use a drip pan to catch the juices.  I'll even add beer, water or apple cider vinegar to the drip tray to help keep a moist environment inside the grill.  I'm not sure how much this actually helps but it sure as hell doesn't hurt.
  5. Put the grate on top of the place setter and clean it thoroughly.
  6. Stabilize the fire at around 225-250.
  7. Add your favorite wood chunks.
  8. Put ribs on grill and set bottom vent to about a quarter of an inch and the top valve barely open.  Cook the rest of the way at a temperature between 200-225.
  9. Cook ribs for 2 hours.  This is where it's gonna get all the smoke flavor so keep the wood burning during this step.  After this, you can even get by with not adding any additional wood because during this phase the meat has absorbed all the smoke it's going to.
  10. Remove from grill, wrap in foil, return to grill for 2 hours (I sometimes spray with apple cider vinegar here, but again, not sure it really helps, the internal juices are enough I think).  This is the part where the ribs sit in their own evaporating juices and the collagen in the pork is breaking down to make them juicy and tender.  Pork is literally a different animal and is totally different than beef.  Low, slow and long for pork is where its at.  You have to cook through doneness, to tenderness.
  11. Remove from grill, remove foil wrapping and return to grill for one more hour unwrapped (just like the first two hours).
  12. Alternative to step 11.  I've experimented on this last hour with slowly getting the grill hotter to about 300-325, removing the place setter, slathering with BBQ sauce and cooking direct for a few minutes to get a good crust and let the sauce caramelize.  It's becoming my new favorite way but, either way works great.
 Tips:

  • Use something to keep the drip pan off the place setter, like a few bolts or even rolled up foil.  Creating some space will keep the liquid from boiling and evaporating quickly.
  • Rearrange ribs at a different places in the grill as you are foiling and unfoiling to ensure one rack isn't in a hot spot and cooks more than the others.


Thursday, December 19, 2013

Spatchcock Brick Chicken

When I learned about spatchcocking, I was fascinated.  It's a very odd word for basically cutting out the backbone of a bird and butterflying it (there are many YouTube videos describing this process).  It's surprisingly easy and it allows the chicken to be laid flat during cooking.  If you've ever cooked a whole bird, you know the challenge is constantly making sure the drum/thigh is fully cooked without over cooking the breasts (everyone always over cooks the breasts).  This method helps tremendously with this problem.

This cook is inspired by a special from Jim's Place Grill in Collierville, TN.  Much of my method is derived from asking their waiter how their brick chicken is prepared.  The purpose of the brick is two fold, it makes the skin crisper and it allows for a faster cooking time.  Jim's Place does a boneless presentation.  I'm not sure how in the hell they do that, but I can see how it would be possible because the meat is falling off the bone when using this method.

I've done this two ways, both at about 400 degrees

1)  In oven in cast iron skillet
2)  In Big Green Egg over direct heat

I will describe my BGE method.

  • Clean and remove the insides.
  • Spatchcock and brine the bird.  Brining consists of letting the meat "marinate" in a salt/sugar/water mix for a period of time.  This period of time can be from a couple of hours to overnight. (3/4 cup salt per gallon of water, same for sugar...even brown sugar can be used)
  • After brinning, add olive oil/rub and let the bird set out at room temperature for an hour, go easy on the salt if you brined it, otherwise it may be too salty.
  • Get your BGE going and stabilize at 400, clean off cooking grid and spray with oil/pam so the skin doesn't stick
  • Wrap a regular ol brick in tin foil (I let the brick heat up with the grill so it cooks from both sides)
  • Put bird on the grill, skin side down and place brick on top in the meatiest part and make sure it will stay put (approx 15 min)
  • Let it cook this way for 15 minutes to brown up the skin and remove brick (with heat glove) and place it on a heat resistant surface momentarily
  • Flip the chicken over (skin side up), replace the brick using the other side of the brick to avoid potential contamination (not sure this is required, just something I do)
  • Insert a meat thermometer and cook the rest of the way like this reaching internal temp of 160, which usually takes about another 30-40 minutes (I try to time it just right where I can shut down the BGE and cook it the rest of the way, like shutting it down at about 150.  It will keep that temp another 10 minutes easy to finish out the cook and save fuel)

NOTE:  The pic below shows one that was left on for 20 minutes on first side.  It was slightly charred so that's why I backed it down to 15 minutes on first side.  You can see on the second pic as I try to pull the leg off, the drumstick just comes right out because it's so tender.


Here is one that is flipped after 15 minutes on the first side.  The skin is perfect.


Wednesday, November 6, 2013

Beer Can Chicken

One of my favorite easy cooks.  The name of this just sounds cool.  The whole idea is that beer gets to boiling and steams the meat from the inside out, while the heat from the grill is cooking from the outside.  I've been told you can use wine as well, however I have never tried it....maybe next time.

  • Get one whole chicken, remove insides, rinse off and pat dry
  • Apply olive oil and rub
  • Get a can of beer, drink half of it and insert it in your 'beer can chicken holder'
  • You can also put rub in the beer which helps a lot
  • Set chicken on beer where the whole can is literally inside of the body cavity of the bird
  • Pull when internal temp reaches about 160, usually takes about an hour cooking in the 400 degree range.
*Using a drip pan can be helpful, lined with foil for easy clean up.  Toss the can and foil, clean off the wire can holder and you're done!

Here is a picture of the chicken after I pulled it off the can:


Monday, November 4, 2013

Boston Butt (Pork Shoulder)

All Boston Butts are pork shoulders, but not all pork shoulders are Boston Butts. A whole pork shoulder is normally divided into two sections, the picnic and the Boston butt. The Boston butt is from higher up on the animal and contains the shoulder blade bone. The picnic is from the upper arm and is the lower half of the entire shoulder cut. Contrary to popular belief, a Boston Butt is not from the rear of the animal. The name came from pre-revolutionary times in New England when they shipped pork shoulders in wooden casks or barrels known as "butts".

The Prep:

Brine Meat Over Night

Two nights (at least, more is better) before you plan to cook, brine your shoulder in regular ol' apple juice.  It can be challenging to find a bowl big enough.  A brine bag can be used if needed.  I stick with around 8lb butts so my large cooking bowls work just fine.

Rub Meat Over Night

One night before the cook, take regular yellow mustard or olive oil and slather the pork on all sides. This will cook off and you will not taste the mustard. It simply acts as an adhesive for the rub. Generously add on your favorite store bought rub or make your own (See Rub section, I highly recommend making Chris Lily's rub yourself). Rub it in every possible crevasse, you can't really overdo this part.  Loosely wrap and stick back in the fridge overnight.

Preparing the BGE

This is a long cook so clean out your ash box and remove any old charcoal (you can reuse this, but just shake out all the ash and add it to the top of the new stuff). I do this with an old shop vac and it works great. Fill your BGE up with lump charcoal and wood chunks. There are many schools of thought on the placement of the charcoal for a long cook. The general consensus seems to be to hand pick some larger pieces for the bottom, medium pieces in the middle and small on top (mixing wood chunks in all levels). Get the fire started at the top and let it burn down during the cook. NOTE: Do not soak wood chunks).

Set out Meat

An hour or so before you plan to put the shoulder on the grill, pull it out of the fridge and let it sit at room temperature to help raise the internal temp a little. This allows the internal meat temp to slowly rise and it will not drop the BGE temp too much when you put it on. This is also a good time to inject the meat if you so choose (see injector mix section).

The Cook:

Light the Egg

After you get a good fire going in your BGE, I put in the place setter (feet up) and put the grate on the place setter. Close the lid and let the vents run wide open for a few minutes and then close the vents to about inch on the bottom vent and 1/4 inch on the top daisy wheel. Adjust as need to get the temp down in the range of 225-250. Clean what hasn't already burned off of your grate with grill brush.

Put Meat on Grill

Lift the hot grate up with something and put a drip pan on the place setter under the area you plan to put the meat to catch the drippings. You can also add water, apple juice, apple cider vinegar, beer or practically anything else to the drip pan. Some people think the evaporation helps moisturize the meat. I'm not sure how much it helps, but certainly can't hurt. I always add a little something to the drip pan.

I have a dual thermometer probe that I clip one probe to the grate to measure the grill temp, and another that goes into the thickest part of the meat (not next to the bone). This thermometer has a wireless receiver that I can keep on me and it will tell me the grill and food temp and alert me if either falls out of the pre-programmed range. This is almost a must have for long cooks, especially for a gadget guy like me.

Go do Things for Many Hours

Once the egg has stabilized you can leave for a good while.  I've had a fire go out on me, so that's why I like the wireless thermometer.  The idea is to leave the dome closed on this thing for the entire cook as you monitor the temp.  Sometimes you don't have to do anything, sometimes you have to do some vent adjusting.  It should take about 1.5-2 hours per pound of meat.

On the cook where my fire went out, I cooked a 7lb butt for nearly 20 hours.  It was fantastic.

Check Meat at 190 Degrees Internal Temp

This is called the "probe test".  Using either a thermapen or the probe from your wireless thermometer, insert into the meat and withdraw it.  If it feel like your pulling out of hot butter, it's time to pull the meat.  If there is any resistance or drag, it needs to cook more.  Check every five degrees.

Once you've passed the probe test, pull meat and stick in a small cooler and let it rest for at least one hour, but it'll still be piping hot for about 4 hours in there. I think the longer you wait the better (up to about 4 hours). You can leave your thermometer in the meat while its in the cooler and watch the temp continue to rise.  (If you're ready to eat, the meat can just rest on the counter lightly covered for about 30 min).

Let me know how it was!

BGE Beef Tenderloin

(5lb bought from Fresh Market- 11/2/13)

Marinade: (for just a few hours before cooking)

  1. Red Wine Vinegar and Sugar (1/4 cup) or just a sweet red wine (1 cup)
  2. Worcestershire (3/4 cup) 
  3. Olive Oil (1/4 Cup)
  4. Minced garlic
  5. Water (1/2 cup)
  6. Lots of Kosher Salt and fresh cracked black pepper
  7. Few dashes of Cheyenne pepper
Put in large zip lock in a bowl in the fridge, flip over and move around occasionally to make sure all sides are getting the marinade.

Cook:
  • Indirect cook setup with place setter legs up.
  • Drip pan on place setter with the leftover marinade poured into it and add a little of my beer I was about to drink.
  • Put grate on and clean it off.
  • Get BGE up to about 600 degrees and sear on each side for approx 2 min.  You should brown all sides of the meat in this step.
  • Pull meat and wrap in foil
  • You can add wood chips at this point if so desired.
  • Close vent on bottom of egg to about half an inch, put daisy wheel to just barely letting any smoke through.
  • Bring down temp to about 225, allow to stabilize for a few minutes and return meat to BGE.
  • Cook at 225-250 degrees until internal meat temp reaches 135.  (probably 30-40 minutes, but could be an hour if stay more around 225)
  • Pull meat and tent in foil.
  • It will cook approx 5-8 degrees more during this phase.
  • This will cook the ends to almost well done, and leave the middle a medium rare, with varying degrees of "doneness" in between.  Pull off earlier or later depending on how your guests like their meat cooked.  I find this to be a good middle ground to please everyone.

Search This Blog