Thursday, December 19, 2013

Spatchcock Brick Chicken

When I learned about spatchcocking, I was fascinated.  It's a very odd word for basically cutting out the backbone of a bird and butterflying it (there are many YouTube videos describing this process).  It's surprisingly easy and it allows the chicken to be laid flat during cooking.  If you've ever cooked a whole bird, you know the challenge is constantly making sure the drum/thigh is fully cooked without over cooking the breasts (everyone always over cooks the breasts).  This method helps tremendously with this problem.

This cook is inspired by a special from Jim's Place Grill in Collierville, TN.  Much of my method is derived from asking their waiter how their brick chicken is prepared.  The purpose of the brick is two fold, it makes the skin crisper and it allows for a faster cooking time.  Jim's Place does a boneless presentation.  I'm not sure how in the hell they do that, but I can see how it would be possible because the meat is falling off the bone when using this method.

I've done this two ways, both at about 400 degrees

1)  In oven in cast iron skillet
2)  In Big Green Egg over direct heat

I will describe my BGE method.

  • Clean and remove the insides.
  • Spatchcock and brine the bird.  Brining consists of letting the meat "marinate" in a salt/sugar/water mix for a period of time.  This period of time can be from a couple of hours to overnight. (3/4 cup salt per gallon of water, same for sugar...even brown sugar can be used)
  • After brinning, add olive oil/rub and let the bird set out at room temperature for an hour, go easy on the salt if you brined it, otherwise it may be too salty.
  • Get your BGE going and stabilize at 400, clean off cooking grid and spray with oil/pam so the skin doesn't stick
  • Wrap a regular ol brick in tin foil (I let the brick heat up with the grill so it cooks from both sides)
  • Put bird on the grill, skin side down and place brick on top in the meatiest part and make sure it will stay put (approx 15 min)
  • Let it cook this way for 15 minutes to brown up the skin and remove brick (with heat glove) and place it on a heat resistant surface momentarily
  • Flip the chicken over (skin side up), replace the brick using the other side of the brick to avoid potential contamination (not sure this is required, just something I do)
  • Insert a meat thermometer and cook the rest of the way like this reaching internal temp of 160, which usually takes about another 30-40 minutes (I try to time it just right where I can shut down the BGE and cook it the rest of the way, like shutting it down at about 150.  It will keep that temp another 10 minutes easy to finish out the cook and save fuel)

NOTE:  The pic below shows one that was left on for 20 minutes on first side.  It was slightly charred so that's why I backed it down to 15 minutes on first side.  You can see on the second pic as I try to pull the leg off, the drumstick just comes right out because it's so tender.


Here is one that is flipped after 15 minutes on the first side.  The skin is perfect.


Wednesday, November 6, 2013

Beer Can Chicken

One of my favorite easy cooks.  The name of this just sounds cool.  The whole idea is that beer gets to boiling and steams the meat from the inside out, while the heat from the grill is cooking from the outside.  I've been told you can use wine as well, however I have never tried it....maybe next time.

  • Get one whole chicken, remove insides, rinse off and pat dry
  • Apply olive oil and rub
  • Get a can of beer, drink half of it and insert it in your 'beer can chicken holder'
  • You can also put rub in the beer which helps a lot
  • Set chicken on beer where the whole can is literally inside of the body cavity of the bird
  • Pull when internal temp reaches about 160, usually takes about an hour cooking in the 400 degree range.
*Using a drip pan can be helpful, lined with foil for easy clean up.  Toss the can and foil, clean off the wire can holder and you're done!

Here is a picture of the chicken after I pulled it off the can:


How to Cook Gulf Shrimp Pizza on a Gas Grill

This pizza is a version of a pizza we had at a place called Cobalt in Orange Beach, Alabama.  This recipe is done on direct heat, directly on the grate, and not (necessarily) using a stone.

The Prep:

  • Get the shrimp cooking on the stove in a pan
  • In a different pan, get the onions and mushrooms cooking, season to your taste
  • Fire up the fire to a little over medium on gas or 350-400 range
  • Roll out the dough into the desired size and shape
  • Brush ONE side with Olive Oil
  • Put the dough on the grill OIL SIDE DOWN (this is tricky because it will likely flop down awkwardly, doesn't have to be perfect, you can try to straighten it out if you really messed it up)
  • Close lid and cook for 1-2 minutes, (literally)
  • Pull dough when crust starts to brown and hold it's own shape.
Most people say to, flip it over and start adding toppings, leaving the dough on the grill the whole time.  I pull it off completely, take it inside, flip it over and add toppings to the ORIGINAL OIL SIDE (the side you just cooked on), then return it to the grill.  (You do not need to add oil to the other side.)


The Toppings (the order is important to follow):
  1. Lay a red sauce down first and spread it out with a spoon.  You don't need a ton of sauce, it's probably less than you think if you've never done it before.  You just want a thin layer and it doesn't have to be perfect, it will even out while cooking.
  2. Add the cut up cooked shrimp from pan
  3. Add the onion/mushroom mix from the pan
  4. Add sliced jalapenos, avocados, roma tomatoes 
  5. Package of goat cheese crumbled/smeared on the pizza (8 ounce)
  6. Maybe a half cup of mozarella shredded cheese to fill in the gaps the goat cheese doesn't cover
Return pizza to grill for final stage of cooking.  I usually drop the temperature slowly throughout the final stages because you're walking a fine line between burning the crust and not melting the cheese.  Usually cook for another 5 minutes.

TIP:  Sometimes I introduce a pizza stone in the last part of the cook.  I will return it to the grill on a stone and let that cook for a few minutes, which really protects the crust.  Then after about 5 minutes, I pull the stone out from under the pizza and let it cook more directly on the grate for another couple of minutes which makes the crust crispy.  This is purely optional, but I've had good results with this method, just make sure the temp is not too high or you can crack your stone.

You can also cook directly on stone using Big Green Egg at 500 degrees for about 10 minutes.


Pineapple Infused Martini- Double Black Diamond

These are inspired by Firebird's Double Black Diamond Martini except these are better, easier and cheaper.  Firebirds actually adds pineapple flavored vodka to their mix per a bartender.  I have no idea why.

In this method, over time the straight vodka is simply infused by the pineapple, and vice versa.  What you wind up with is a dangerous martini that is pretty much straight vodka, but tastes like pineapple juice.

Ingredients:
  1. Pineapples
  2. Vodka
Obviously, the better vodka you use, the better they will be, but you don't have to go real expensive to get good taste.  I used Absolute, which is middle shelf and they are fantastic.  Simply cut the pineapples and put them in an air tight container with vodka.  As shown, I slice them in this fancy beverage dispenser and make it look nice.  I've also cut them into squares and stored them in a mason jar.  Both work the same.  The more surface area on the pineapples, the quicker the infusing.

The time you allow for infusion is up to you and is a fun experiment.  Anytime after about 24 hours, you can drink them and they are very good...but not as good as a waiting a week.  I've seen some recipes that are very convinced there is a specific day they will be the best.  One website I was reading says it "HAS" to be ten days.  I've tried it at 9, 10, 12 days and haven't tasted much of a difference.  The longer the better up to a couple of weeks.  Seems like somewhere in the neighborhood of 10-20 days is ideal.  It does not require refrigeration.  

I'm not sure how long they are good for because it's never lasted longer than 3 weeks around my house.

Monday, November 4, 2013

Famous CB Guacamole

  1. Avocados (2-4)
  2. Minced garlic (2 tsp)
  3. Olive Oil (2 tsp)
  4. Tomato (diced- half of one)
  5. Chopped Onion (1/4-1/2 cup)
  6. Diced Jalapenos (one large)
  7. Cracked Black Pepper (season to your taste on these last few)
  8. Kosher Salt
  9. Cheyenne Pepper
  10. Cilantro
  11. Lime juice (about 1 lime)
Mix together briefly and let chill in fridge for 30+ minutes.  I like chunky guac so I don't stir it together too much.  All measurements are approx because I never measure.

Pork Shoulder Rub

Chris Lilly's recipe I am told:

1/4 cup dark brown sugar
1/2 cup white sugar
1/2 cup paprika
1/3 cup garlic salt
1/3 cup kosher salt
1 tablespoon chili powder
1 teaspoon oregano leaves
1 teaspoon cayenne pepper
1 teaspoon ground cumin
1 teaspoon black pepper

Pork Injection

I believe I got this off a forum that said it was Chris Lilly's six time championship injection:

3/4 cup apple juice
1/2 cup water
1/2 cup sugar
1/4 cup salt
2 tablespoons Worcestershire

Continue to stir it up real good throughout the process, the sugar tends to settle.

Goat Cheese Marinara

This works best in a short dish that is small to medium sized and safe for oven cooking.
  1. Put an 8-16 ounce slab of goat cheese in the dish.
  2. Pour marinara sauce all around to fill up the dish to the desired level.  This usually almost completely covers the cheese.
  3. Stick in oven for 15-20 minutes on 350.
  4. Toast your favorite bread and tear in to bite size pieces.
Dip the pieces of bread, getting a little goat cheese and a lot of marinara on each bite.

Gameday Dip

This is the easiest dip you will ever make that will be a hit.
  1. Two cans of rotel
  2. Two packages of cream cheese
  3. Pound of sausage or venison
Start a small crock pot with the cheese and rotel.  You can drain some of the rotel juices out depending on how thick you want your dip to be.

Season the meat as you see fit.  Brown the meat in the skillet and drain.  Add to crock pot and stir.

TIP:  You can trade one pack of cream cheese for an equal amount of Velveeta. 

Boston Butt (Pork Shoulder)

All Boston Butts are pork shoulders, but not all pork shoulders are Boston Butts. A whole pork shoulder is normally divided into two sections, the picnic and the Boston butt. The Boston butt is from higher up on the animal and contains the shoulder blade bone. The picnic is from the upper arm and is the lower half of the entire shoulder cut. Contrary to popular belief, a Boston Butt is not from the rear of the animal. The name came from pre-revolutionary times in New England when they shipped pork shoulders in wooden casks or barrels known as "butts".

The Prep:

Brine Meat Over Night

Two nights (at least, more is better) before you plan to cook, brine your shoulder in regular ol' apple juice.  It can be challenging to find a bowl big enough.  A brine bag can be used if needed.  I stick with around 8lb butts so my large cooking bowls work just fine.

Rub Meat Over Night

One night before the cook, take regular yellow mustard or olive oil and slather the pork on all sides. This will cook off and you will not taste the mustard. It simply acts as an adhesive for the rub. Generously add on your favorite store bought rub or make your own (See Rub section, I highly recommend making Chris Lily's rub yourself). Rub it in every possible crevasse, you can't really overdo this part.  Loosely wrap and stick back in the fridge overnight.

Preparing the BGE

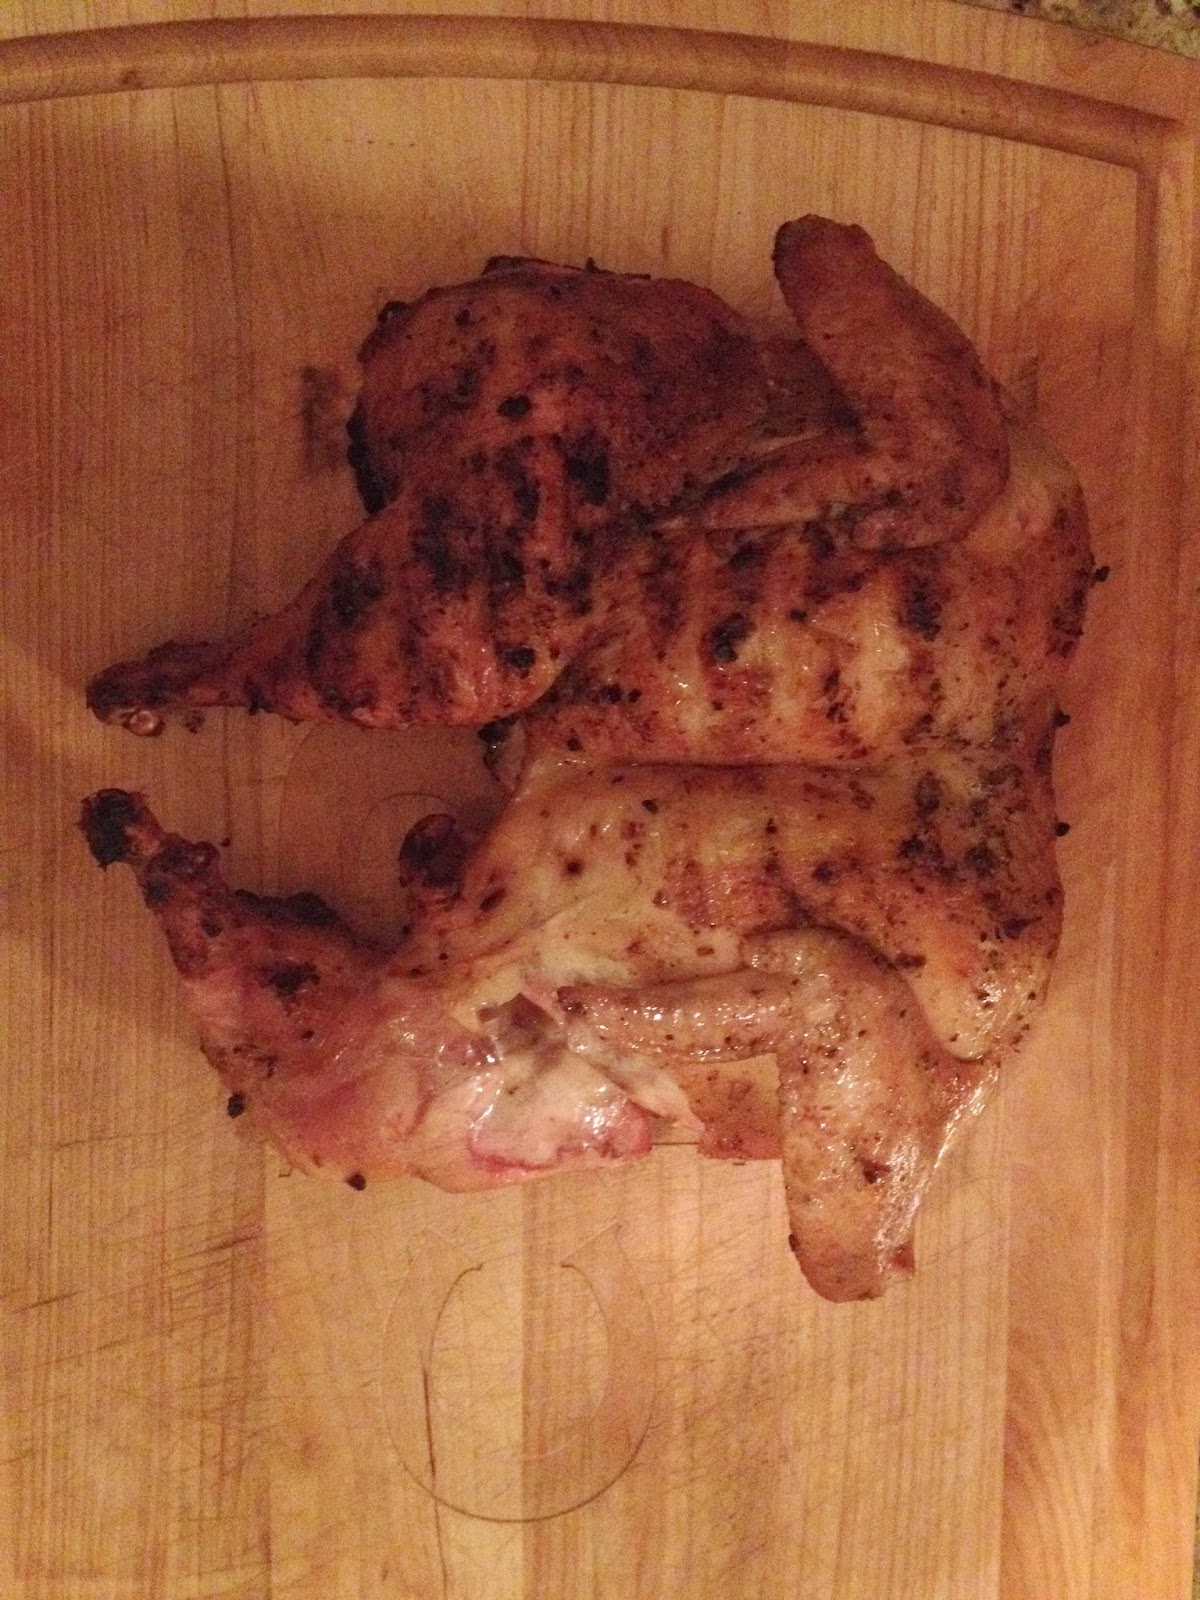
This is a long cook so clean out your ash box and remove any old charcoal (you can reuse this, but just shake out all the ash and add it to the top of the new stuff). I do this with an old shop vac and it works great. Fill your BGE up with lump charcoal and wood chunks. There are many schools of thought on the placement of the charcoal for a long cook. The general consensus seems to be to hand pick some larger pieces for the bottom, medium pieces in the middle and small on top (mixing wood chunks in all levels). Get the fire started at the top and let it burn down during the cook. NOTE: Do not soak wood chunks).

Set out Meat

An hour or so before you plan to put the shoulder on the grill, pull it out of the fridge and let it sit at room temperature to help raise the internal temp a little. This allows the internal meat temp to slowly rise and it will not drop the BGE temp too much when you put it on. This is also a good time to inject the meat if you so choose (see injector mix section).

The Cook:

Light the Egg

After you get a good fire going in your BGE, I put in the place setter (feet up) and put the grate on the place setter. Close the lid and let the vents run wide open for a few minutes and then close the vents to about inch on the bottom vent and 1/4 inch on the top daisy wheel. Adjust as need to get the temp down in the range of 225-250. Clean what hasn't already burned off of your grate with grill brush.

Put Meat on Grill

Lift the hot grate up with something and put a drip pan on the place setter under the area you plan to put the meat to catch the drippings. You can also add water, apple juice, apple cider vinegar, beer or practically anything else to the drip pan. Some people think the evaporation helps moisturize the meat. I'm not sure how much it helps, but certainly can't hurt. I always add a little something to the drip pan.

I have a dual thermometer probe that I clip one probe to the grate to measure the grill temp, and another that goes into the thickest part of the meat (not next to the bone). This thermometer has a wireless receiver that I can keep on me and it will tell me the grill and food temp and alert me if either falls out of the pre-programmed range. This is almost a must have for long cooks, especially for a gadget guy like me.

Go do Things for Many Hours

Once the egg has stabilized you can leave for a good while.  I've had a fire go out on me, so that's why I like the wireless thermometer.  The idea is to leave the dome closed on this thing for the entire cook as you monitor the temp.  Sometimes you don't have to do anything, sometimes you have to do some vent adjusting.  It should take about 1.5-2 hours per pound of meat.

On the cook where my fire went out, I cooked a 7lb butt for nearly 20 hours.  It was fantastic.

Check Meat at 190 Degrees Internal Temp

This is called the "probe test".  Using either a thermapen or the probe from your wireless thermometer, insert into the meat and withdraw it.  If it feel like your pulling out of hot butter, it's time to pull the meat.  If there is any resistance or drag, it needs to cook more.  Check every five degrees.

Once you've passed the probe test, pull meat and stick in a small cooler and let it rest for at least one hour, but it'll still be piping hot for about 4 hours in there. I think the longer you wait the better (up to about 4 hours). You can leave your thermometer in the meat while its in the cooler and watch the temp continue to rise.  (If you're ready to eat, the meat can just rest on the counter lightly covered for about 30 min).

Let me know how it was!

Cheesy Steak Pizza

Cheesy Steak Pizza

The Prep:

  • Obtain or make some dough.
  • Get a pan simmering on the stove with sliced mushrooms and onions.  Seasoned to your liking.
  • Light the BGE, put the place setter in legs down (let the setter warm up with grill to sanitize)
  • Get it stabilized around 500

The Dough:

I am in the process of learning how to toss dough, so when I master this technique, I will post about it.  In the meantime, just use a rolling pin to iron out your dough into the shape of a pizza.  Mine usually looks more like an outline of the state of Montana.  

(TIP: Use A LOT of flour to keep it from sticking to the board and the pin)

The Toppings (the order is important to follow):
  1. Lay a red sauce down first and spread it out with a spoon.  You just want a thin layer and it doesn't have to be perfect, it will even out while cooking.
  2. Leftover steak from tenderloin the night before, probably about 4-6 ounces worth, chopped up into small pieces, but it's your pizza, make it however you want.
  3. Add sliced jalapenos, and the onion/mushroom mix from the pan.
  4. Add shredded cheese of your choice.  We usually stick with mozzarella, goat, or pepper jack
The Cook:
Dust the top of the place setter with some flour and slide pizza directly onto it.  Alternatively you can use parchment paper between the pizza and the stone for the first few minutes of the cook, about 3-4 minutes in, pull the paper out from under the pizza.  It will keep the dough from sticking.  Start your timer for 10 minutes and make sure your temp stays in the desired ball park.


BGE Beef Tenderloin

(5lb bought from Fresh Market- 11/2/13)

Marinade: (for just a few hours before cooking)

  1. Red Wine Vinegar and Sugar (1/4 cup) or just a sweet red wine (1 cup)
  2. Worcestershire (3/4 cup) 
  3. Olive Oil (1/4 Cup)
  4. Minced garlic
  5. Water (1/2 cup)
  6. Lots of Kosher Salt and fresh cracked black pepper
  7. Few dashes of Cheyenne pepper
Put in large zip lock in a bowl in the fridge, flip over and move around occasionally to make sure all sides are getting the marinade.

Cook:
  • Indirect cook setup with place setter legs up.
  • Drip pan on place setter with the leftover marinade poured into it and add a little of my beer I was about to drink.
  • Put grate on and clean it off.
  • Get BGE up to about 600 degrees and sear on each side for approx 2 min.  You should brown all sides of the meat in this step.
  • Pull meat and wrap in foil
  • You can add wood chips at this point if so desired.
  • Close vent on bottom of egg to about half an inch, put daisy wheel to just barely letting any smoke through.
  • Bring down temp to about 225, allow to stabilize for a few minutes and return meat to BGE.
  • Cook at 225-250 degrees until internal meat temp reaches 135.  (probably 30-40 minutes, but could be an hour if stay more around 225)
  • Pull meat and tent in foil.
  • It will cook approx 5-8 degrees more during this phase.
  • This will cook the ends to almost well done, and leave the middle a medium rare, with varying degrees of "doneness" in between.  Pull off earlier or later depending on how your guests like their meat cooked.  I find this to be a good middle ground to please everyone.

Search This Blog